Device Compatibility, eSIM
eSIM for iPad: Compatibility, Activation & Setup Guide
Check if your iPad supports eSIM, learn how to activate a travel data plan in minutes, and find out why your iPad deserves its own connection on the road.
TL;DR: Only Wi-Fi + Cellular iPads support eSIM -- Wi-Fi-only models have no cellular hardware. If you have a Cellular model from 2018 or later, it's compatible. Go to Settings → Cellular Data → Add eSIM to activate a Nomad eSIM in under five minutes. Buy before you travel, activate when you land.


Traveling with an iPad is genuinely useful -- until you realise your device has no independent data connection and every hotspot drop kills your momentum. eSIM is a digital SIM built directly into the device. All Wi-Fi + Cellular iPad models released since 2019 are eSIM compatible, with many newer models dropping the physical SIM tray entirely.
This guide covers which iPads qualify, how to activate a Nomad eSIM on yours, and why a dedicated iPad data plan beats tethering to your phone every time.
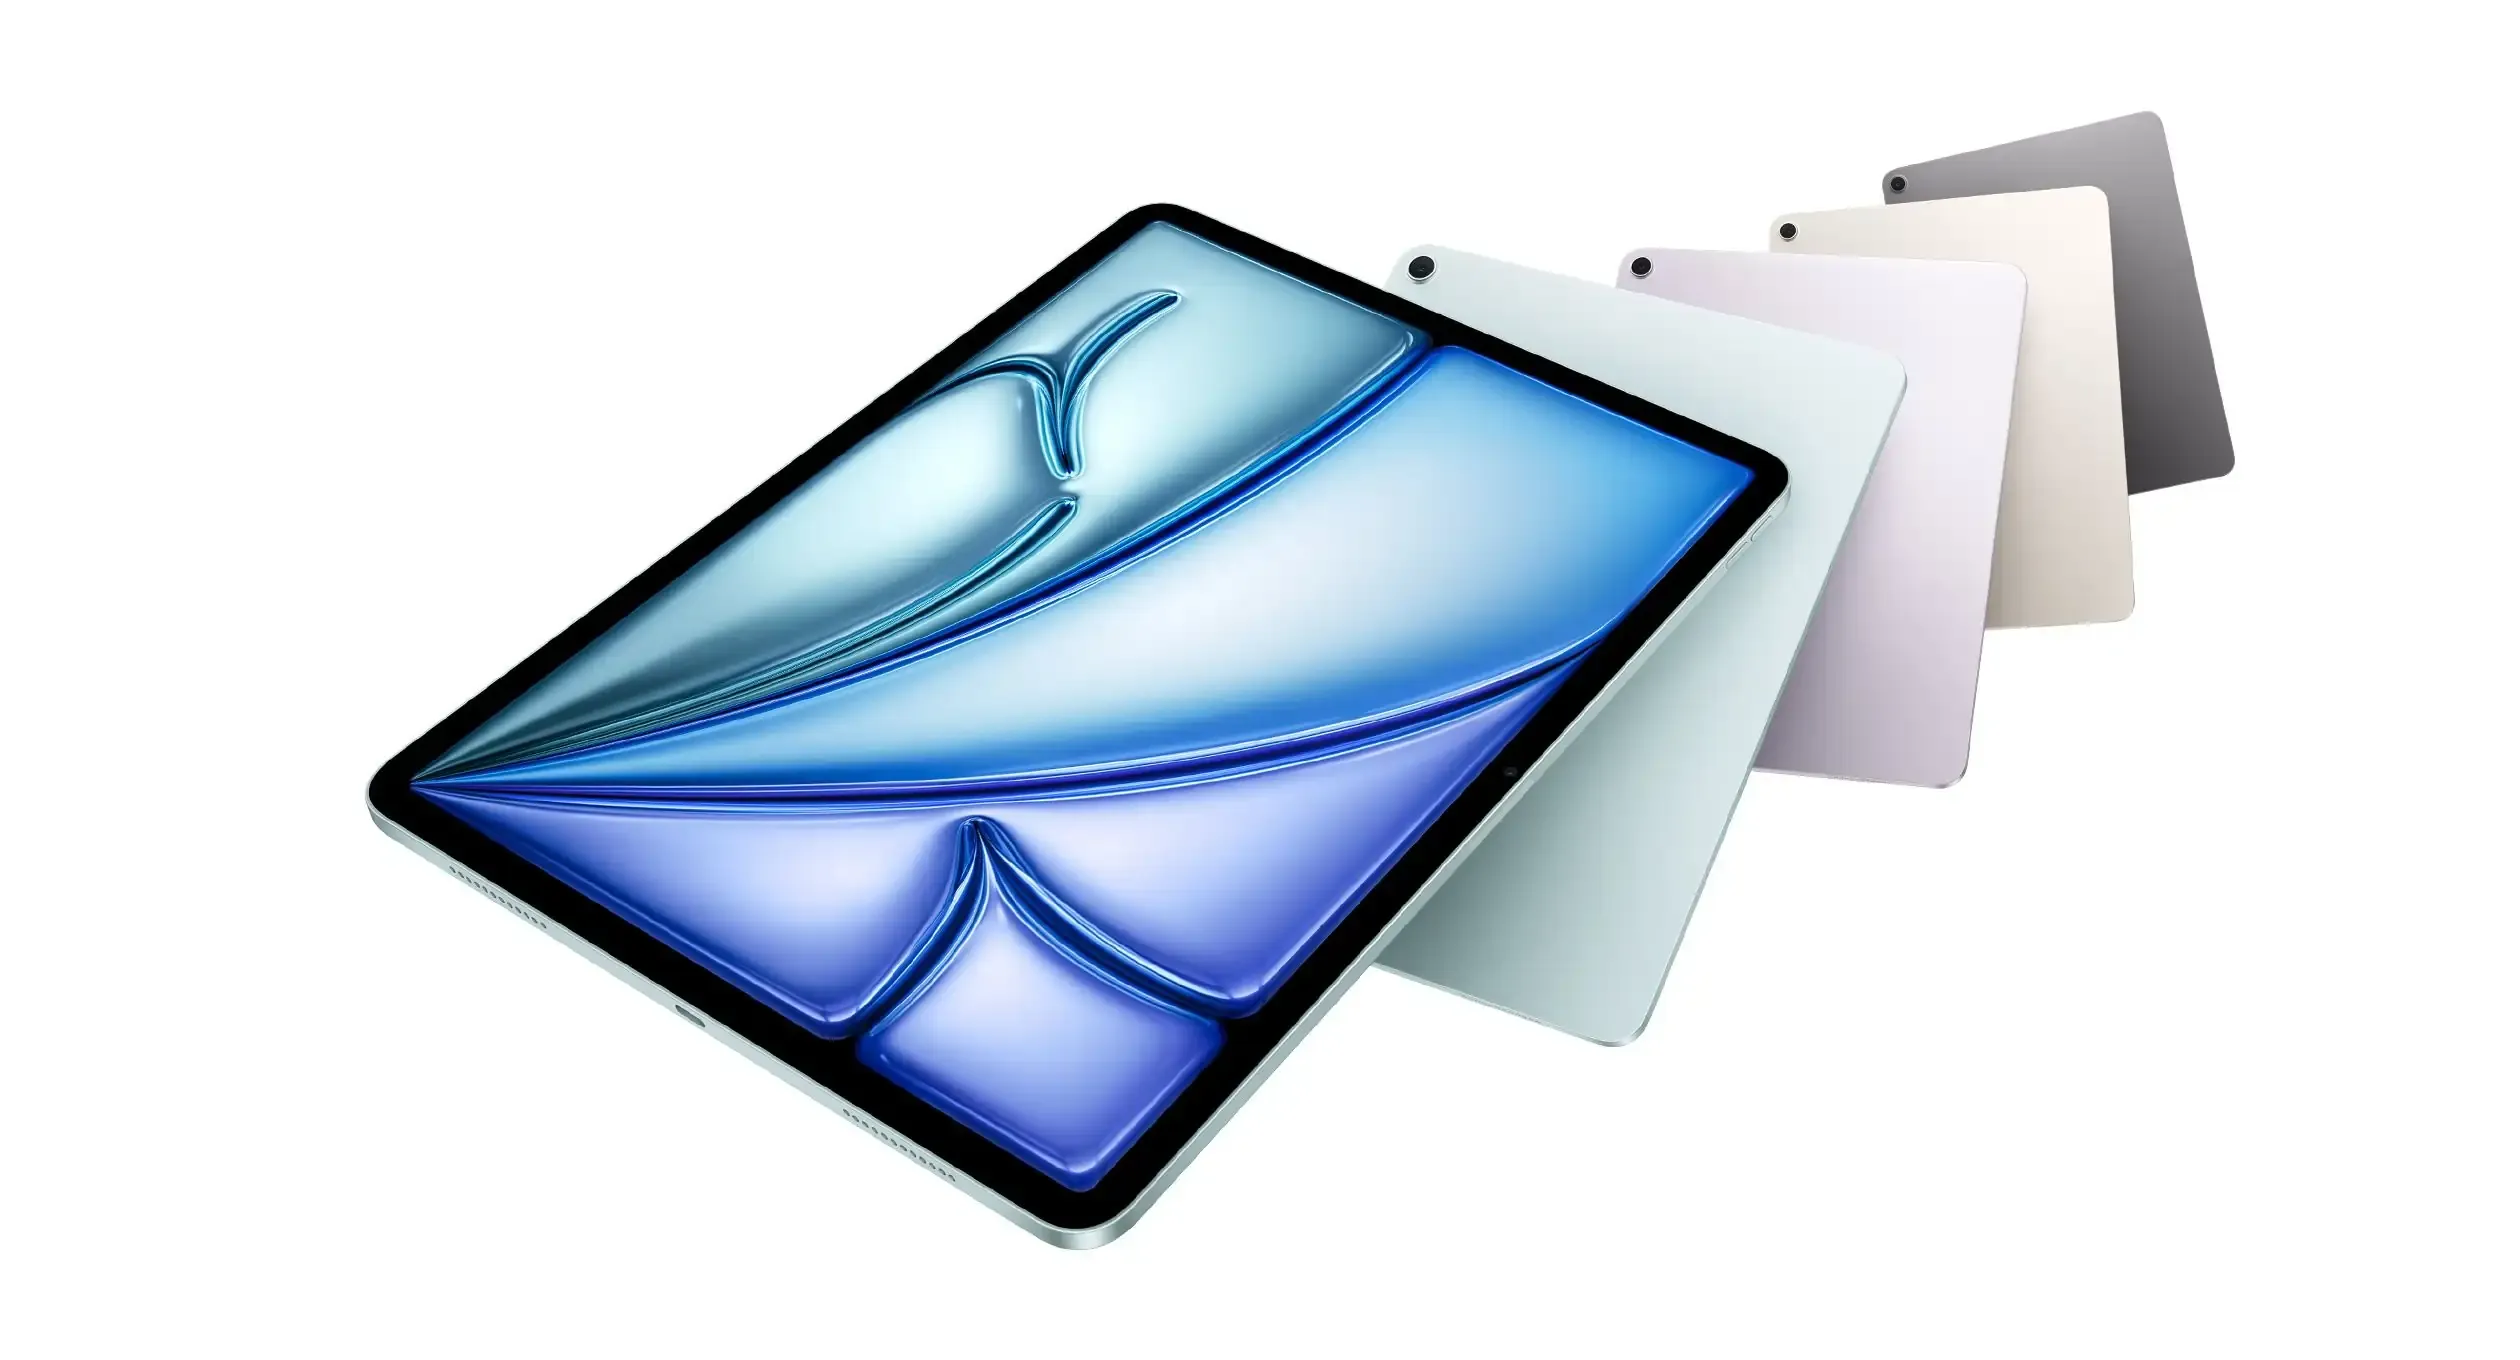
iPad Models That Support eSIM: Wi-Fi + Cellular Required
Only iPad Wi-Fi + Cellular models support eSIM. A standard Wi-Fi-only iPad has no cellular radio at all -- no eSIM hardware, no nano-SIM slot, nothing. No software update can change this; it is a hardware difference set at the factory.
iPad That Support eSIM: Complete Compatibility List
Fully eSIM-Only iPads
- iPad Pro 11-inch & 13-inch (M4 chips and later)
- iPad Air 11-inch & 13-inch (M2 chips and later)
- iPad mini (A17 Pro and later)
- iPad (A16 chips and later)
iPads with Both eSIM and Physical SIM Slots
- iPad Pro 12.9-inch (3rd through 6th generation)
- iPad Pro 11-inch (1st through 4th generation)
- iPad Air (3rd through 5th generation)
- iPad mini (5th through 7th generation)
- iPad (7th through 10th generation)
To confirm your specific model, go to Settings → General → About and check the model number. You can also verify against the Nomad eSIM device checker.
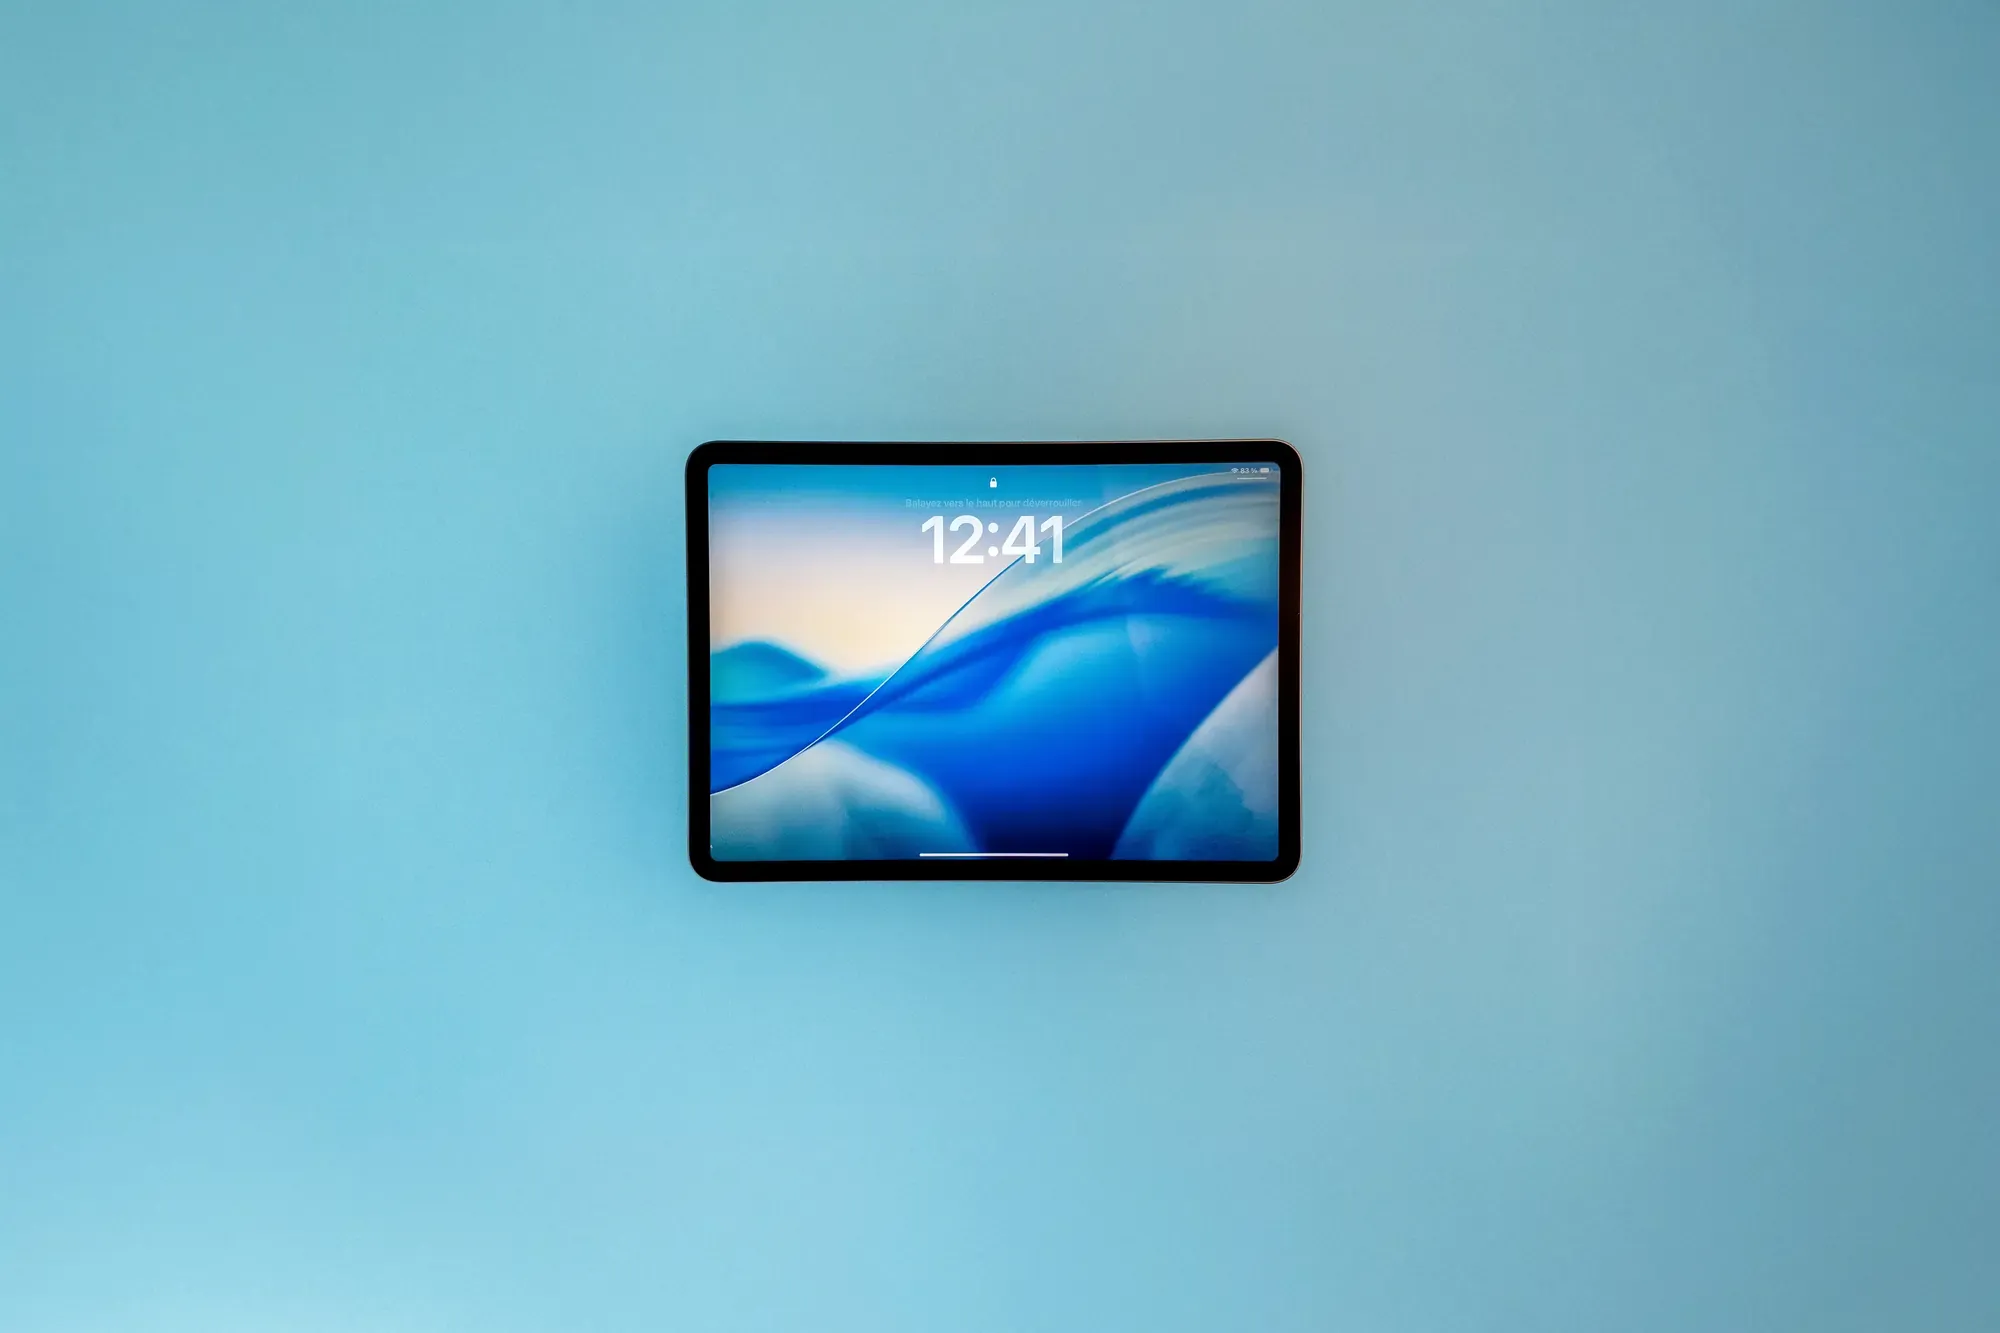
How to Activate eSIM on iPad
Activating a Nomad eSIM on iPad follows the same flow as iPhone, with one interface difference: iPad uses Cellular Data rather than Cellular in Settings. You can purchase and install your eSIM before you travel -- all you need is a Wi-Fi connection at home, and you can set the activation date for when you land.
Method 1: QR Code
Settings → Cellular Data → Add eSIM → Use QR Code
- Open Settings on your iPad
- Tap Cellular Data
- Select Add eSIM
- Tap Use QR Code and scan the QR code from your Nomad eSIM confirmation email or the Nomad app
- Follow the on-screen prompts to complete installation
- When asked, set this eSIM as your Cellular Data line
Method 2: Nomad eSIM App
Nomad App → Your Plan → Install eSIM
- Open the Nomad eSIM app on your iPad
- Select your purchased plan
- Tap Install eSIM and follow the guided setup
- The app handles the activation sequence automatically -- the smoothest option if you're setting up on the device itself.
Method 3: Manual Activation Code (Fallback)
If the QR code won't scan (for example, you're setting up from the same device displaying the code):
- In Add eSIM, tap Enter Details Manually
- Enter the SM-DP+ Address and Activation Code from your Nomad eSIM confirmation email
- Complete installation following the on-screen prompts
Once installed, your Nomad eSIM appears under Settings → Cellular Data. Toggle it on when you arrive at your destination. Your plan activates automatically and you're online -- no store visit, no SIM tray, no waiting.
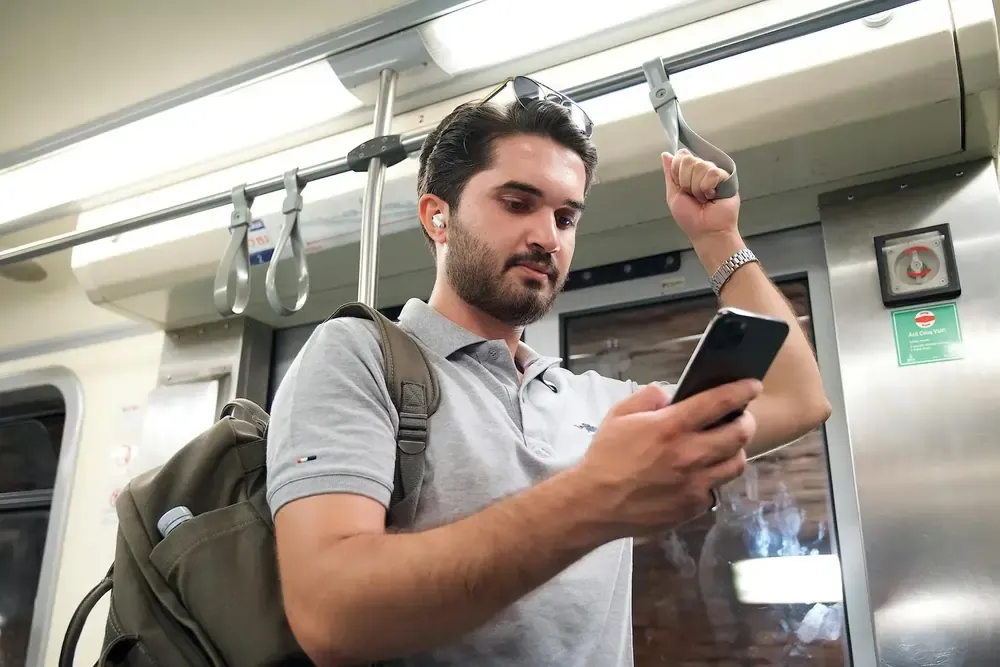
Why Your iPad Needs Its Own Data Plan for Travel
Tethering to your phone's hotspot works until your phone battery dies, signal drops, or iOS throttles the hotspot in low-power mode, at which point your iPad goes dark too. A cellular iPad with its own Nomad eSIM stays online independently: maps keep running, translation apps respond instantly, video calls connect directly to the tower without a two-device relay.
The cost case is straightforward too. Roaming an iPad on a home carrier plan runs $10–$15 a day. A Nomad eSIM regional plan often covers the same geography for the same price per week, with no per-day meter.

Frequently Asked Questions (FAQs)
Does my iPad support eSIM?
Two conditions must both be true. First, your iPad must be a Wi-Fi + Cellular model — Wi-Fi-only iPads have no cellular hardware at all and cannot use eSIM regardless of model year. Second, it must be from 2018 or later (iPad 6th gen, iPad Pro 3rd/1st-gen 11-inch, or newer). The fastest check: open Settings → Cellular Data. If this menu exists, your iPad has cellular capability. If you see an Add eSIM option within it, you're ready to go. You can also run your model number through the Nomad device checker for a direct result.
What's the difference between a Wi-Fi iPad and a Wi-Fi + Cellular iPad?
A Wi-Fi-only iPad connects to the internet exclusively through wireless networks — at home, in cafes, in hotels. It has no cellular radio and no SIM slot of any kind. A Wi-Fi + Cellular iPad includes a cellular modem, a nano-SIM slot (on older models) or eSIM (on 2018-and-later models), and the ability to connect to mobile networks independently of any Wi-Fi. When you're traveling, that difference is the gap between always-on connectivity and dependency on available hotspots. The Cellular variant costs more upfront, but it's the only configuration that supports a travel eSIM.
Can I share my phone's eSIM with my iPad?
Not directly. An eSIM profile is tied to one device and cannot be transferred or simultaneously used on another. What you can do is use your phone as a personal hotspot and share its connection with your iPad over Wi-Fi — but this is exactly the tethering workaround described above, with all the reliability and battery trade-offs that come with it. The cleaner solution is a separate Nomad eSIM plan on your iPad, running independently. Both devices stay online regardless of what the other is doing.
How do I add a travel eSIM to my iPad?
Purchase a plan from Nomad eSIM, then go to Settings → Cellular Data → Add eSIM on your iPad. Scan the QR code from your confirmation email, or open the Nomad app and tap Install eSIM for a guided flow. The whole process takes under five minutes on a Wi-Fi connection, and you can do it days before your trip. When you land, toggle the eSIM on and your iPad connects automatically. For a full walkthrough, see the activation steps above or the Nomad eSIM installation guide.
Can I use the same Nomad eSIM plan on both my iPad and phone?
No, each eSIM plan is provisioned for one device. However, Nomad eSIM plans are available in a range of data sizes, so buying a separate plan for each device is straightforward and often more cost-effective than roaming on either. If your phone already has a Nomad eSIM installed, purchasing a second plan for your iPad takes the same amount of time and gives your iPad a completely independent connection.
Does eSIM work the same way on iPad as on iPhone?
Largely yes. Both use the same GSMA eSIM standard and the same QR code / app activation flow. The main interface difference is that iPad calls the menu Cellular Data where iPhone says Cellular. One meaningful functional difference: iPhone supports dual SIM (one eSIM active alongside a physical SIM for calls), whereas iPad Cellular models are typically single-line — the eSIM handles all cellular functions including data. This isn't a limitation for travel use, where data is the primary need.
How much data does an iPad typically use while traveling?
It depends heavily on usage. Light use -- maps, messaging, email, boarding passes -- runs around 500 MB to 1 GB per day. Moderate use including video calls or streaming adds 1–3 GB per day. If you're using the iPad for work (video calls, cloud file access, remote desktop) on a multi-day trip, a 5–10 GB plan is a sensible starting point. Nomad eSIM's Data Calculator can help you size the right plan before you buy.
Nomad eSIM Free Trial
Try Nomad eSIM risk-free with our free trial—no contracts, no commitment. Set up in minutes, enjoy secure connectivity, and manage everything easily through the Nomad eSIM app.